Good morning! Well about as good as it can get for a Monday ;) A lot of you have seen pictures of our basement bar, but I never got around to doing an actual tutorial. This post is mostly about how to create a faux granite countertop
like what I did in my kitchen, but I wanted to include some pictures of the bar before as well.
 |
| Made out of plywood, 2x4s, and decorative trim. |
 |
| We were lucky and got this darker piece from family members. It was the perfect size for our space and a good piece to build around. Look for similar pieces at Eco Store, Habitat for Humanity, or on Craigslist. You'll probably be able to get them for a steal especially if they're kind of odd like this one. |
 |
| Painting everything black |
 |
| This is a vanity that was supposed to go in the bathroom, but we decided to build around it and make it the back countertop with sink. We bought this vanity at Eco Store for around $25. |
 |
| Since the countertops are odd sizes and we didn't want to spend a lot of money, we decided to do faux granite countertops. Basically you sponge paint on, add glitter, and cover with EnviroTex Lite or epoxy of your choice. I bought these craft paints from Michael's. I used a mix of silver metallic, black metallic, greys, and white. It's super important that you use some sort of metallic paint because that shimmer makes it look closer to real granite. |
 |
| You'll need sea sponges to sponge on the paint. Look at pieces of granite for inspiration. Make note of the colors, patterns, and lines in natural granite and paint based on that. | |
 |
| My messy workstation! You can cut the sponges in several pieces. Pour the paint on paper plates and then get at it! |
 |
| It's going to look really ugly at first! This is normal. The key is to keep layering the paint. Rotate through the colors over and over and over. It will take a while, but the more you layer, the more natural it's going to look. No need to wait for it to dry in between layers unless your paint starts blending together. |
 |
| Sponge in "veins" |
 |
| Once you have the countertop painted exactly the way you want it, sprinkle fine glitter over it (we used white and black). Then, prepare your epoxy. We used EnviroTex Lite which can be found at Hobby Lobby, Michael's, and some home improvement stores. If purchasing at Hobby Lobby or Michael's, be sure to use a coupon! |
 |
| I don't have many pictures of this process because you have to work fast! Mix the two epoxy containers together in a clean milk jug or ice cream bucket. We only had a pop bottle on hand - not the best option. Once you've stirred it for the recommended amount of time on the directions, start pouring. We used card stock to spread it out. The most important thing is to make sure you have plenty of epoxy (so buy extra kits). Use more than you think you'll need. If you spread it too thin, the finish will not be smooth and you'll have bare spots and bumps. |
 |
| Once it's all spread out, watch for bubbles to emerge over the next couple of hours. Blow them out with a blow torch or your breath. |
 |
| Yep, still at it. You'll see quite a few bubbles so keep going over it. Watch for drips on the sides as well and wipe up ASAP. |
 |
| We ended up doing three coats of epoxy (wait a day in between each coat). The more epoxy you use, the shinier the surface will be. |
 |
| Since the edges between the countertop and sides were rough, we used corner trim for a more finished look. |
 |
| Painting the corner trim |
 |
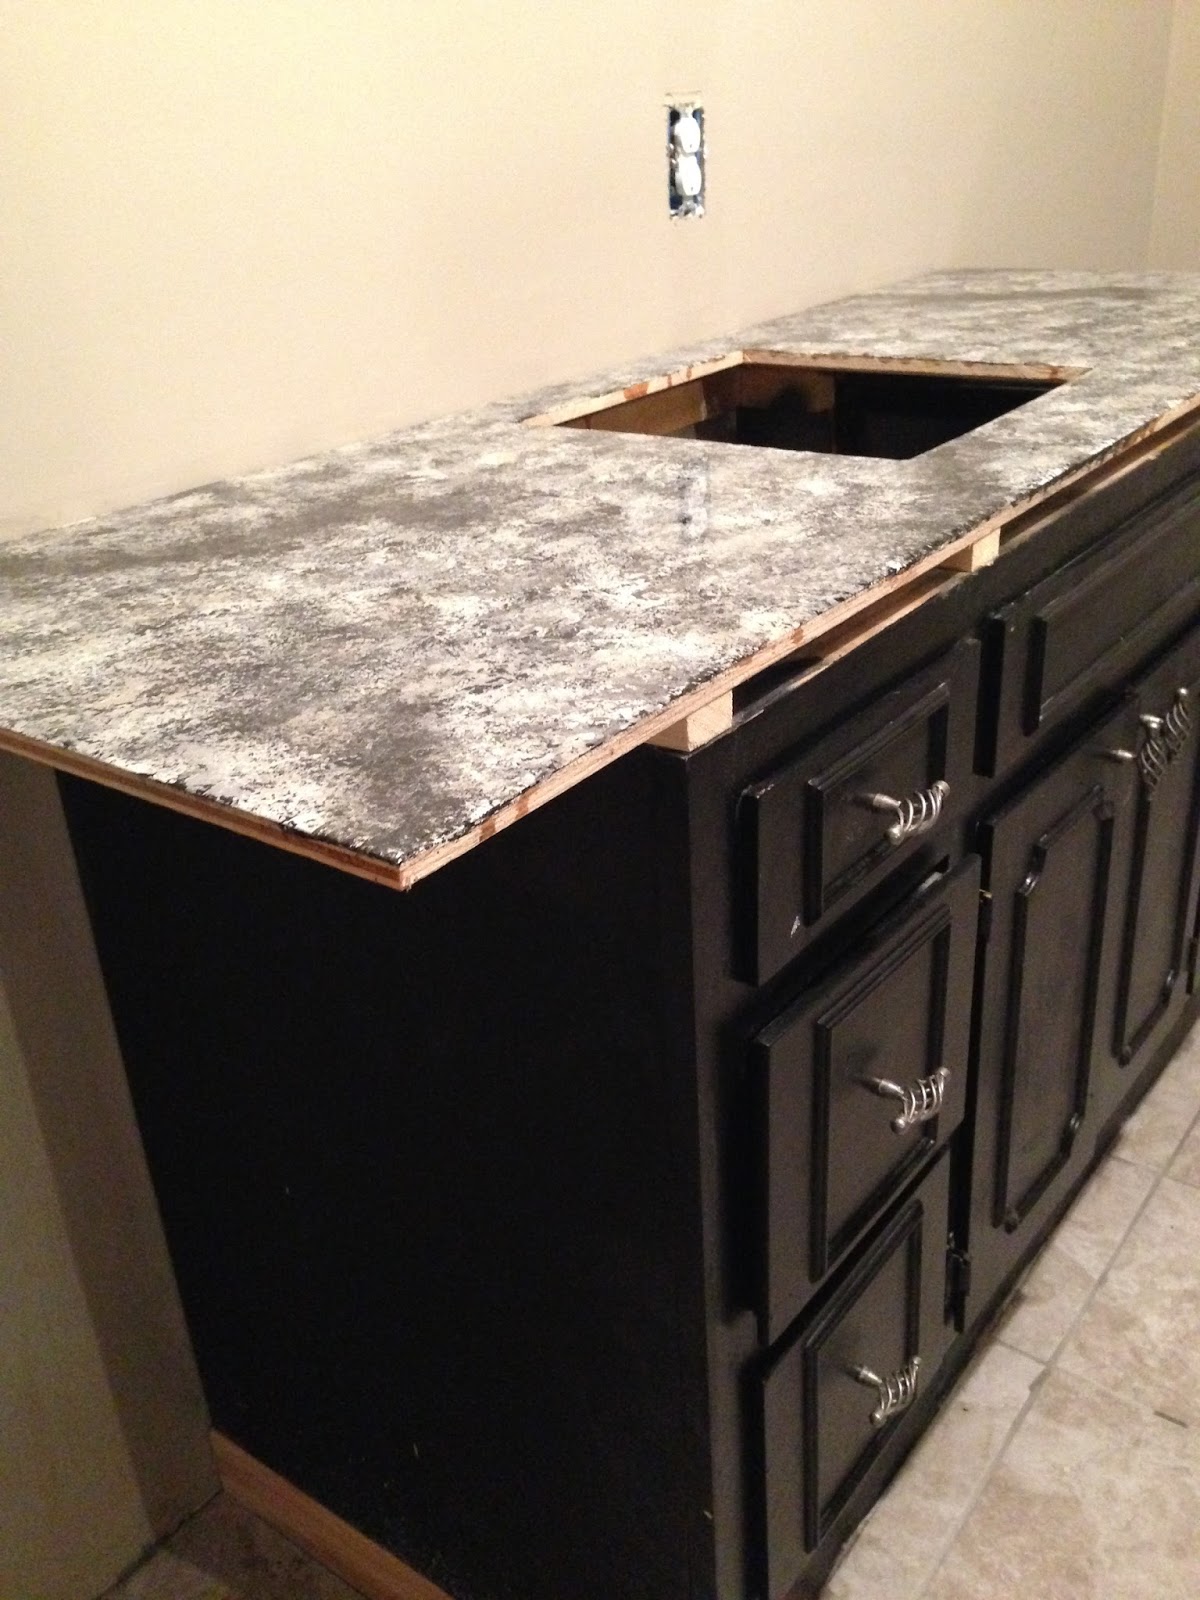
| Top of countertop with trim on. |
 |
| We also built around this vanity to make it longer and to include a liquor shelf on the side. |
 |
| Still working on the very bottom of the cabinet. |
 |
| Admiring our work. Notice the shine of the countertops. |
 |
| I got the four black barstools off Craigslist for $20 total. |
 |
| I also redid those back barstools and table. Click here for that tutorial. |
 |
| If you like that red Nebraska decoration above the fridge, click here for the tutorial. It's string art on barnwood. Shout out to Jeremy for the Pendleton sign! |
 |
| We need to organize this, but it sure comes in handy for stashing stuff away! |
Okay, so you get the idea! We were able to build and finish the bar and back countertop for around $250. (Note that this figure does not include finishing the actual room - drywall, paint, tile, etc.) So go out there and build the bar of your dreams!


No comments:
Post a Comment